Mastering the Bokeh Effect for Dreamy Photography
The bokeh effect is one of the most sought-after aesthetic qualities in modern photography, yet it remains frequently misunderstood. Derived from the Japanese word "boke," which translates to blur or haze, this term describes the aesthetic quality of the out-of-focus areas in an image. It is not merely the absence of sharpness; rather, it is the character of that softness. For photographers, designers, and content creators, understanding and utilizing bokeh is essential for directing viewer attention, creating emotional depth, and elevating flat images into professional-grade visuals. Whether you are shooting wedding invitations, fashion editorials, or lifestyle content for social media, the way background light renders can define the entire mood of your composition.
Elevating Visual Storytelling Through Soft Focus
In a digital landscape saturated with high-contrast, hyper-sharp imagery, the dreamy bokeh effect offers a necessary visual respite. This softness serves a functional purpose beyond mere decoration. By rendering backgrounds into smooth, glowing orbs of light, you effectively separate your subject from the environment without requiring expensive prime lenses or perfect lighting conditions at the moment of capture. This separation guides the viewer’s eye exactly where you want it to go, reducing cognitive load and making the primary subject instantly recognizable.
For wedding photographers and invitation designers, this technique communicates romance and intimacy. The ethereal glow suggests nostalgia and warmth, qualities that are difficult to achieve through standard color grading alone. Similarly, fashion bloggers and influencers utilize these soft light overlays to create a cohesive, luxurious aesthetic across their feeds. When applied correctly, the bokeh effect transforms a standard portrait into an atmospheric masterpiece, adding a layer of production value that typically requires significant time and equipment.
Streamlining Workflow with Professional Photoshop Actions
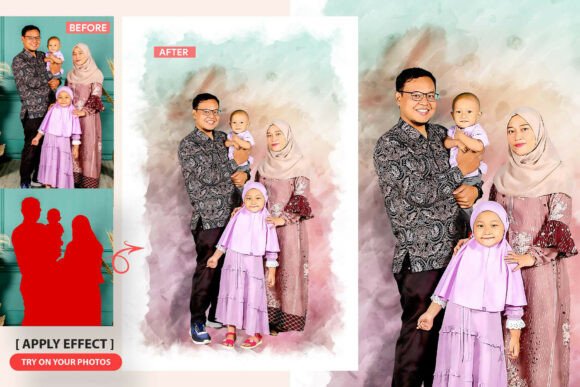
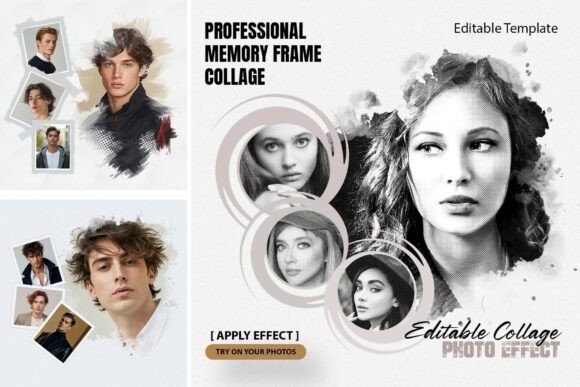
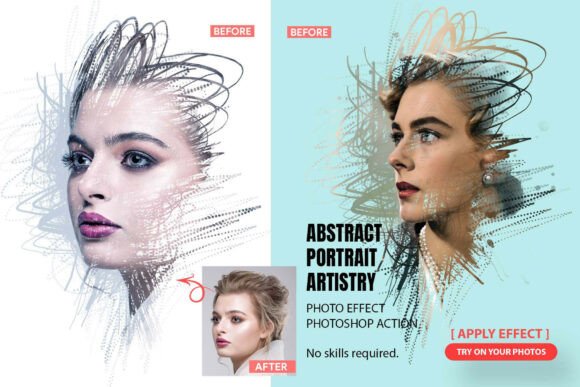
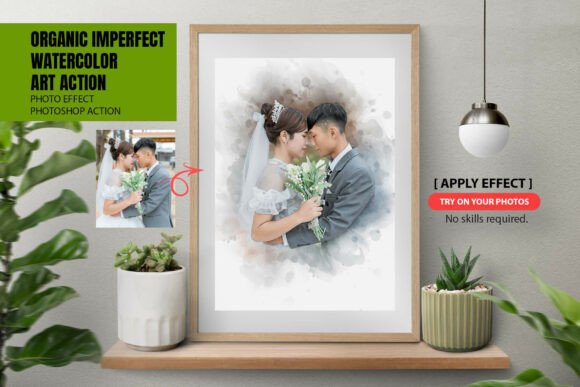
Achieving authentic optical bokeh during a shoot requires specific gear and environmental control. However, post-production workflows often demand speed and consistency that manual editing cannot provide. This is where specialized tools like the Dreamy Bokeh Effect Photoshop Action become invaluable assets for professionals and hobbyists alike. Unlike static PNG overlays that sit flatly on top of an image, a dedicated action generates dynamic, customizable layers that interact with your specific photograph.
The primary advantage of using an automated action over manual brushing is efficiency combined with flexibility. Manually painting light leaks and blur gradients can take hours per image and often results in inconsistent styling across a project. A professional action condenses this process into seconds while maintaining non-destructive editability. Because every element is generated on a separate, organized layer, you retain full creative control. You are not locked into a preset look; instead, you have a structured foundation that can be tweaked, combined, and perfected to suit your unique vision for each individual shot.
Customization as a Creative Necessity
One of the most critical limitations of generic filter apps is the lack of granular control. Professional retouching requires the ability to adapt effects to the specific lighting and color temperature of the source image. High-quality actions address this through smart color control and blur sharpness adjustments. For instance, being able to toggle between signature Golden Red tones for warm, romantic portraits and cooler, neutral tones for modern fashion shoots ensures the effect enhances rather than clashes with the original photography.
Furthermore, background flexibility allows users to modify the underlying image while maintaining the integrity of the bokeh glow. This is particularly useful when compositing or correcting exposure issues in post-production. The inclusion of high-quality ABR brush files alongside the ATN action file provides an additional layer of utility, allowing designers to manually paint extra light effects or refine specific areas that the automated action might miss. This hybrid approach—combining automation with manual refinement—is the hallmark of professional-grade editing.
Practical Applications for Creators and Marketers
The utility of the bokeh effect extends across various disciplines within the creative industry. Understanding who benefits most from these tools helps in determining whether they fit your specific workflow needs.
- Wedding and Event Photographers: Consistency is key when delivering galleries. Using a standardized action ensures that all images share a cohesive color grade and atmospheric feel, even if they were shot in varying lighting conditions throughout the day.
- Social Media Managers: Creating thumb-stopping content requires distinct visual styling. Dreamy overlays add texture and interest to product shots or lifestyle images that might otherwise appear sterile or overly commercial.
- Graphic Designers: When designing album covers, book jackets, or web banners, text legibility is paramount. Soft bokeh backgrounds provide excellent negative space that supports typography without competing for attention.
- Educators and Content Creators: For those creating course materials or YouTube thumbnails, a polished aesthetic establishes authority and professionalism. Soft focus backgrounds help maintain focus on the speaker or product being demonstrated.
Navigating Limitations and Best Practices
While tools like the Dreamy Bokeh Effect set are powerful, they are not universal solutions. Users should understand that digital bokeh simulates optical phenomena but does not perfectly replicate the physics of glass lenses. The effectiveness of the action depends heavily on the resolution and quality of the source image. Low-resolution files may reveal artifacts when heavy blur is applied, and images with extremely busy, high-contrast backgrounds may require manual masking to prevent the effect from looking muddy.
Additionally, subtlety is often more effective than intensity. A common mistake among new users is applying the effect at 100% opacity across the entire frame. Professional results usually come from dialing back the opacity, using layer masks to protect the subject’s face or focal point, and blending multiple extra light effects sparingly. The goal is to enhance the photograph's existing strengths, not to obscure its flaws entirely. Users should also consider color grading compatibility; while unlimited color combinations are possible, clashing hues can distract from the subject. Utilizing the built-in smart color controls to match the effect to the image’s original palette typically yields the most natural results.
Why Dynamic Actions Outperform Static Overlays
When comparing options for adding atmospheric effects, it is important to distinguish between static overlays and generative actions. Static overlays are essentially pre-rendered images placed above your photo. They do not account for the depth, color, or composition of your specific image. In contrast, a comprehensive Photoshop action uses a combination of filters, adjustment layers, and blend modes to calculate the effect based on your input.
This distinction matters for long-term workflow sustainability. As your style evolves, a customizable action grows with you. You can save modified versions of the action for different clients or seasons, building a personalized library of effects. The inclusion of detailed help files and instructions further bridges the gap between technical execution and creative intent, ensuring that users can troubleshoot and adapt the tool rather than abandoning it when results aren't immediate. Ultimately, investing in a flexible, layer-based system supports a more efficient, professional, and creatively fulfilling editing process than relying on rigid, one-size-fits-all presets.